

How to build a shed

Project overview
Sheds can act as an extension of your house and give you the space to enjoy your garden. Sheds don’t need planning permission, there are loads of different shapes, sizes and styles so there’s one that’s perfect for almost any garden. This guide will give you inspiration on the type of shed you could have in your garden, how to build a shed on uneven ground, how to build a wooden shed base and a little bit about looking after your shed too.
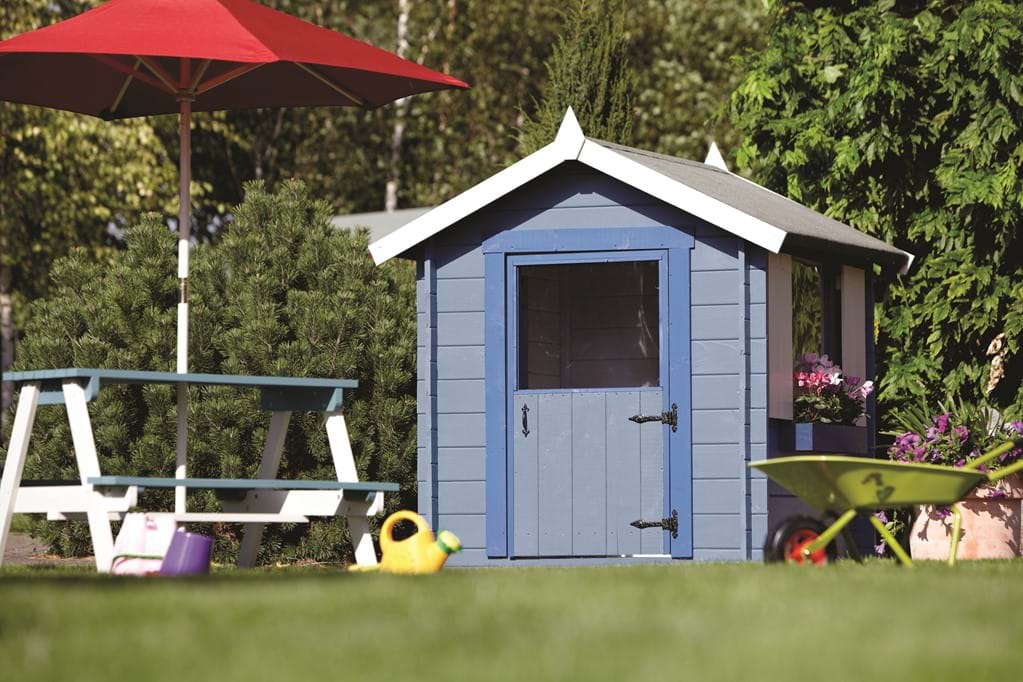
Garden shed ideas
A garden shed doesn’t just have to be a space to store your tools and lawn mower. There are loads of practical uses for a shed and they’re not all just for storage!
- Shed studio
If you’re struggling for indoor space, a shed can be that extra room you need. Whether it’s an office, gym, or a space for you to practice your hobby, there’s loads you can do.
- A bar
A shed bar can give you that little bit more space to entertain guests during the summer (or winter as it’s indoors!) months. You don’t even need to have a particularly large shed to achieve this, the door could have a bar that folds down with the drinks kept inside the shed. All you need then are a couple of bar stools and a name for your bar.
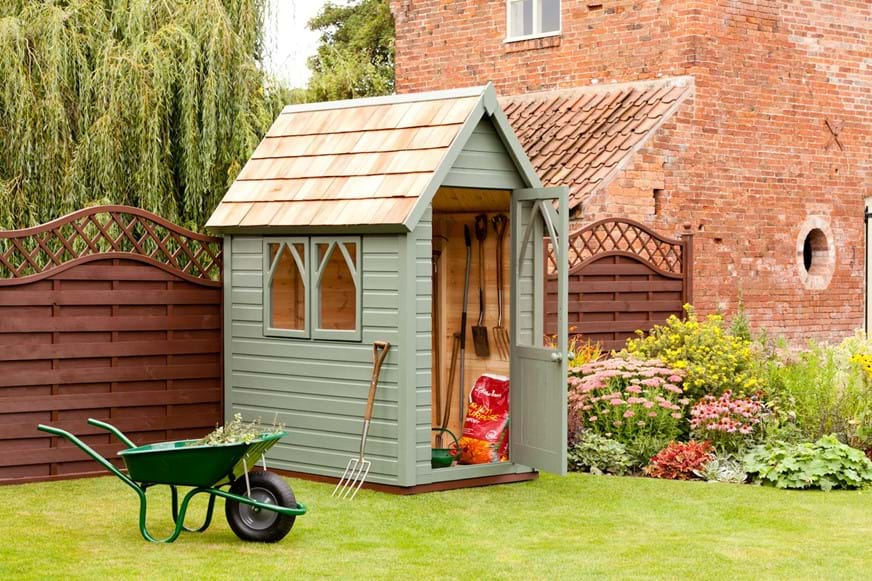
- A potting shed
If you’re green fingered and love nothing more than getting into the garden and tending to your plants, a potting shed will be perfect for you. Store your gardening essentials and use a useful fold down table to repot growing plants and introduce new ones to your garden.
Potting sheds come in loads of different sizes, some even have a greenhouse attached so your plants can flourish.
- Your own private retreat
Your shed is your own which means you can customise it any which way you want and turn it into a space to chill out, relax and enjoy nature.
You can throw open the doors, practice yoga, enjoy your music, paint, read and reconnect with the nature in your garden. It’s the perfect place to take a breather and clear your head.
How to build a shed base on uneven ground
To build a shed on uneven ground, you need to level the ground and then lay down a foundation (like concrete or paving slabs) for the base of your shed to sit on.
- Mark out the area where you want your shed to be. Use pegs to mark the corners and run a builder’s line (a line of wire) between each peg. This will help you visualise the size of your shed.
- Remove plants, stones, any debris, and the turf. Dig down to a depth of about half the length of the spade head. If your soil if soft, you will need to dig deeper (a full spade depth) so you have a firm foundation.
- Top soil is loose and crumbly and could make your shed foundation unstable, so make sure you completely remove it all. Top soil is dark brown so keep digging and clearing until you can only see lighter soil. Set the top soil to one side.
- Lay a plank across the soil to identify which area need levelling out. Look at it to see if there’s any areas you can immediately see which need levelling and redistribute the soil so it appears even. Place a spirit level on top of the plank to check it’s level. Repeat this process across the hole.
You’ve now got a couple options as to how you can fill the gap. We’ll explain how to lay a base with paving slabs and with pea gravel.
How to lay a shed base with paving slabs
Paving slabs are a good option if your shed will sit alongside a patio, or you want to make sure it’s completely waterproof.
Slabs measuring 600mm x 600mm x 50mm are the ideal size for this project. They will provide you with the even strength you need and will fit into any size shed base too.
- Mix one part cement with eight parts building sand. You won’t need to add any water as the moisture from the soil will help cure the cement.
- Spread the mixture evenly, making sure it’s roughly 40mm deep. Use a rake to make sure it’s even and level.
- Start from one corner and lay the paving slabs. Use a rubber mallet to tap each one down and ensure it’s secure.
- As you lay the slabs, use a spirit level to check they’re absolutely level. This is to prevent you shed warping in the future.
How to build a shed base foundation
Once you’ve levelled out the uneven ground (see the ‘How to build a shed on uneven ground’ section) and have cleared the top soil, you can begin to lay the foundation with pea gravel.
To work out how much pea gravel you need, multiply the length of your shed by the height of the hole and width of the shed. So: shed length x hole height x shed width.
You will also need enough mason blocks to sit around all four walls of your shed. Divide the perimeter by the length of each block to work out how many you need.
- Replace the top soil, filling the hole so there’s a three inch gap between the top of the hole and the soil.
- Rake the soil to remove lumps and to get the surface smooth and flat. Remove any rocks or stones.
- Compress the soil with a flat heavy object or a ground tamper. Push down on the soil to compress it and repeat until the soil will no longer compress.
- Check the top soil is level, following the same process as when you levelled out the subsoil. Remove or add soil until it’s level.
- Fill the hole with the pea gravel. Pea gravel is important as it lets water filter into the soil under the shed. Once the hole is full, level it out with a ground tamper.
- Place the mason blocks around the four outside walls of where your shed will sit. They can be laid side by side or with a slight gap in-between each. These will form the foundation of your shed.
- Lay posts along the blocks to check they’re level. The posts should be the same length and width as your shed. Use a spirit level to check they’re even.
- That’s the foundation of your shed laid, you can now fasten the floor of your shed to the posts and continue with construction as normal.
How to build a wooden shed base
Once you’ve sorted out the ground your shed will sit on, you need to build the base. If you’re building your shed on pea gravel, you can skip this section as you secure the floor to the wooden beams on top of the mason blocks.
The shed will most likely come with spikes for the corners to support the weight. These can be hammered directly into the grass so you can build your shed on grass if you want to.
Shed kits will come with the manufacturer’s instructions for assembly so before you follow our advice, check those first to see how it should be done. Otherwise, here’s how you build a wooden shed base.
- Plot it out
Choose where you want your shed to be located and lay out each piece of timber to form a loose structure of the base.
- Guide the screws in
On the two longer beams, make two pencil marks on each end (eight in total) to indicate where the screws will go. The marks need to line up with the centre of the shorter beams so they’re easy to screw together.
Use a flat wood drill bit to drill recesses into each mark. The recesses should be the depth of the screw head to help it sit flush against the wood for a neat and professional finish.
Once you’ve created the recesses, change your drill bit to one that’s thinner than the screw’s shank. Line up the beams and drill a pilot hole through the centre of the recess into the adjoining short beam. Pilot holes make it much easier for you to guide your screw in without splitting the wood.
You can now insert the screws tightly into place to create the outer edges of your base.
Then, evenly space out the remaining short beams within the frame and drill them in to place.
- Pick the right place
Check your frame is square, or the right shape for your shed, and move the base into its final position.
Once you’ve put the shed on the base, it’ll be difficult to move it again so make sure you pick a logical spot. Remember you will need to access all four sides of the shed to paint or stain and protect once you’ve built it.
- Add the feet
Once you’ve got the outline of your frame you can add the feet which will raise your shed ever so slightly off the ground to help with drainage.
Attach the L-shaped feet to the inside of the frame but don’t go too far into the corner as you need to leave room for the spikes. Use a drill bit to create more pilot holes and make sure the frame is level.
Screw the round head screws into the pilot holes to fix the L-shaped feet in place.
- Hammer the spikes
Grab the spikes that came with your kit and hammer these into the ground until they line up with each corner of your base.
Check again that your base is level and drill pilot holes for the spike screws to guide into and then screw the spikes in place.
You can then drop the flooring on top. Check the manual to see if you need to secure it in place, with many you won’t need to!
And that’s it, you’ve now got a shed base ready to be built upon.
How to build a shed
With a little bit of help, assembling a shed is easy. But just like the base, assembly instructions might vary so always double check before you begin.
- Prep
Remove the travel blocks (the bits of wood under the shed panels to prevent damage) and mark the centre point of each edge of your base.
Place the back panel in place and use a prop or a helper to hold it in place. Grab a side panel (not the one with the door!) and screw these two panels along the framing battens where they meet. Drill pilot holes and fit three screws at the top, middle and bottom.
- Fix the side panels
Carry on assembling the second side panel and then the door panel. Don’t screw it to your base though, make sure everything is square, aligned and level first.
- Add the roof
Slot the roof support beam into the grooves at either end of the shed. Make sure the shed sits firmly on the base and, importantly, the door works.
Once you’ve checked that you can lay the roof panels. Place them on the ground with the wooden strips (eave sections) positioned underneath, flush with the bottom edge of the panel. Mark evenly spaced fixing positions. Drill pilot holes and hammer in the nails to attach the eaves to the panels.
Add the panels to the top of your shed one by one taking the time to make sure it’s level and aligned. Secure it in place using the fixings that will come with your kit and finally nail or screw the sides of your shed and ends to the floor.
- Protect the wood
Once you’ve built your shed, you need to paint or use a shed and fence preserver to protect the wood. This will stop water from rotting the wood and will prevent it from discolouring in the sunshine.
To make painting easier, we’ve put together a step by step guide for you.
How to waterproof a shed
It’s really easy to waterproof a shed which is good news if you want to use it as an office, an extension to your garden or simply somewhere to keep garden equipment.
Keeping a dry shed is really all about due diligence.
As soon as you’ve put up your shed, one of the first things you should do is use a protective paint or wood preserver to keep the water out.
But you should also make sure that any gaps are filled. Check the area around the door and, if you have them, windows too. If you spot any leaks or just want to make sure it’s extra secure, grab some expanding foam and seal up the sides.
Don’t forget about the roof either! Keep an eye on the felt covering and secure any loose panels that may flap in the wind. These help to keep your shed water tight.
How to move a shed
Moving a shed can be tricky in the best of circumstances. Sometimes the easiest thing for you to do is take it apart and reassemble it in the right spot.
But if you can’t take it apart and it’s far too heavy to lift, rolling can work. First of all empty out your shed and make sure it’s as light as possible – this will make your job much less hazardous.
Grab a sturdy plank of wood, or something equally easy to wedge underneath, and lift the front of your shed. Once you’ve got enough room, roll logs or another cylindrical and sturdy object underneath the shed. Repeat this at the other end and make sure you’ve got spare rollers to place in front of the shed to keep it going.
Make sure the ground is flat and clear of any debris before you start rolling.
We recommend…
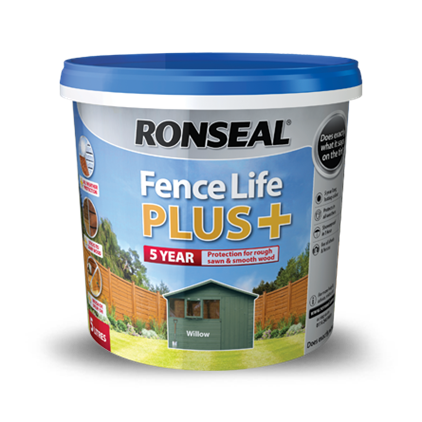
This is our toughest and most versatile fence and shed treatment yet. It protects against rain, frost, snow and it won’t grey in the sun. It can be used on rough sawn and smooth planed sheds and fences and it lasts for up to five years.
More Details

