How to turn children’s illustrations into garden installations
Cute critters for your garden!

Project overview
The Great Garden Revolution shows viewers how to turn children’s illustrations into garden installations
A garden makeover can be a great a way to encourage children’s creativity by turning their illustrations into outdoor installations, according to master craftsman Bruce Kenneth.
The final episode of Ronseal Presents…The Great Garden Revolution on Channel 4 sees our team of DIY experts transform the garden of Staining Primary School in Blackpool into a fun space for kids to enjoy.
As part of the transformation, Bruce asked the schoolchildren to submit their illustrations of animals, which he then turns into eye-catching installations for the garden.
Using standard cuts of wood and his stash of Ronseal products, Bruce creates a vibrant display of cute critters dotted around the outdoor space.
Bruce says: “This is a great way to make a garden fun and interactive for kids. You can bring all the bright colours, excitement and energy of the classroom into the outdoors.”
Here, he explains how viewers can get the job done in their own gardens.
Materials needed:
- Smooth planed wood
- Pencil
- Saw
- Sandpaper
- Chisel set
- Mounting brackets or fixings
- Nails or screws
Products:
- Ronseal Garden Paint
Get started
Step 1
Use a children’s illustration as a guide to replicate the image on a piece of wood using a pencil. You could even ask the child to help you replicate their masterpiece! Make the outline as large as you
want for your garden installation.
Step 2
Cut around the shape with a saw. Depending on the tools you have available, you may find that a jigsaw or coping saw will help to cut around curved shapes.
Step 3
Smooth the edges with sandpaper and use a chisel set to create any indentations on your illustration. This could include facial features for an animal creation.
Step 4
Use Ronseal Garden Paint to paint your installation in a variety of eye-catching colours that will stand out in your garden and ensure it remains weatherproof.
Step 5
Use mounting brackets or fixings to attach your installation to a suitable place in the garden like a fence or tree.
Step 6
Repeat the process with different drawings until your garden is teeming with wooden installations of your children’s illustrations!
Featured product

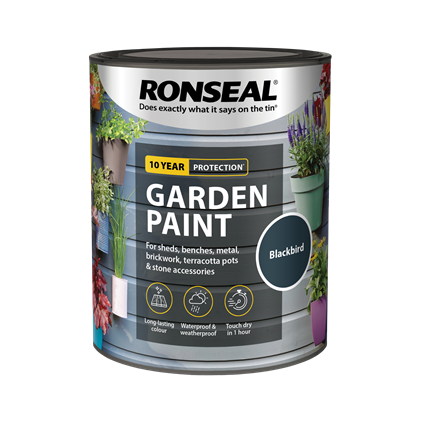
Add colour to almost anything in your garden with our Garden Paint. It’s versatile and can be used to paint wood, brick, terracotta and metal. Available in 24 colours, the paint both looks good and will waterproof and protect your wood too.
More Details
