

How to create a bird box
Birdwatching in your back garden!

Project overview
Master craftsman Bruce Kenneth shows how to make a simple bird box in episode three of The Great Garden Revolution.
Garden Wildlife Week 2022 (6-12 June) is a great time to explore the outdoors and discover all the beautiful animals right on your doorstep.
Thanks to a new how-to demonstration from master craftsman Bruce Kenneth, animal enthusiasts can also build a simple and great-looking bird box for their gardens.
In the latest episode of Ronseal Presents…The Great Garden Revolution on Channel 4, Bruce takes viewers through the RSPB guide for creating the perfect bird box.
Using just a few tools, standard cuts of wood and his stash of Ronseal products, he reveals the quick and easy way to put the plan into action and build a cosy home for birds of all shapes and sizes.
Bruce says: “Birds bring so much value to a garden. Watching the wildlife can be very therapeutic and relaxing – it’s good for your mental health.
“This is a simple job that should only take about an hour. It’s a great project for kids and the whole family to get involved in.”
This how-to guide explains how to get the job done and make your own garden bird box.
Materials needed:
- Saw
- Drill
- Optional: a hole saw/cutter for making 3.2cm holes
- Pencil and tape measure
- Nails
- Screws
- Ladder
- A plank of FSC wood 15cm x 1.4cm long x 1.5-1.8cm thick and not pressure treated
- A strip of waterproof rubber
Products:
- Ronseal Garden Paint
Get started
Step 1
Find the right bird-friendly spot for your box. Ideally, it will be under the eaves of your house or high on a wall. The box will need to be at least 3 metres (10 feet) from the ground.
Step 2
Make sure you have the right wood.The thickness is important to insulate the box from cold and heat and to stop the box from warping. You can use exterior-quality plywood (for a lightbox) or, for something more sturdy, hardwoods (such as oak and beech).
Step 3
Measure and cut your wood according to the diagram shown here. If you don't have the hole saw/cutter for making the 3.2cm round hole, you can use a jigsaw to cut a square or wedge-shaped hole at the top of the front.
Step 4
Nail all the pieces, except the roof, together. The sides, back and front 'wrap around' the base.
Step 5
Attach the roof. By using screws, you’ll be able to get into the box at a later stage to clean it out. Use a waterproof strip to make a hinge between the top edge of the roof and the backing board.
Step 6
Paint your bird box with Ronseal Garden Paint to seal the wood and protect it from the elements.
Step 7
Put your box up. Drill guide holes in the backing plate at the top and bottom of the box. Taking care, fix the box to a wall using a ladder, screws and Rawlplugs.
Step 8
Enjoy your bird box!
Featured product
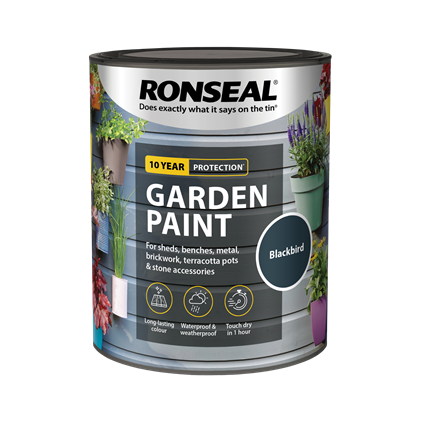
Add colour to almost anything in your garden with our Garden Paint. It’s versatile and can be used to paint wood, brick, terracotta and metal. Available in 24 colours, the paint both looks good and will waterproof and protect your wood too.
More Details