Project overview
How to fill a hole in your wall - Video Guide
If you want a more in depth walk thorugh of how to fill a hole in your wall, check out this video.
Different types of filler
When it comes to filler it’s not a case of one size fits all. You need a specific filler for a specific job depending on the depth of the hole and the surface it’s on.
Powder filler
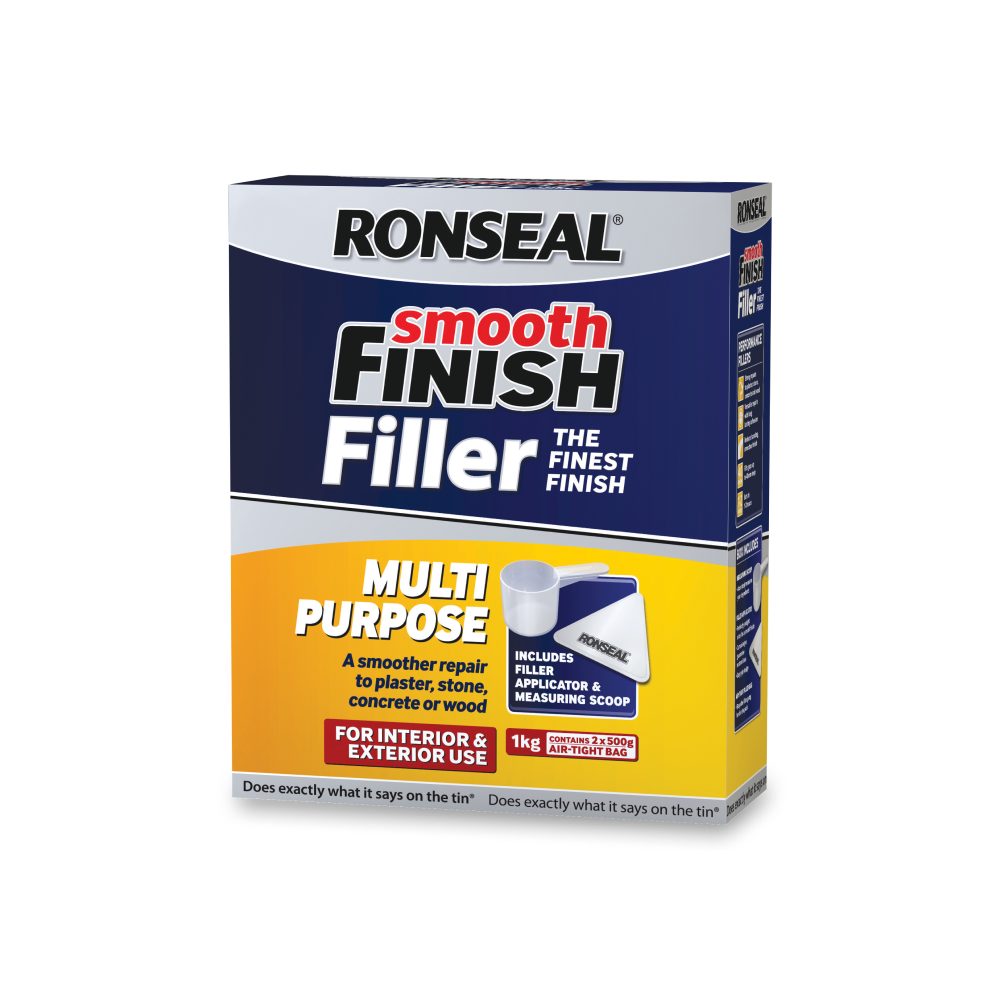
Powder filler is often for deeper cracks or holes. It’s usually cheaper than other fillers, and you mix it yourself. Because of the depths it can fill, it’s versatile and can often be used indoors or outdoors.
Ready-mixed filler
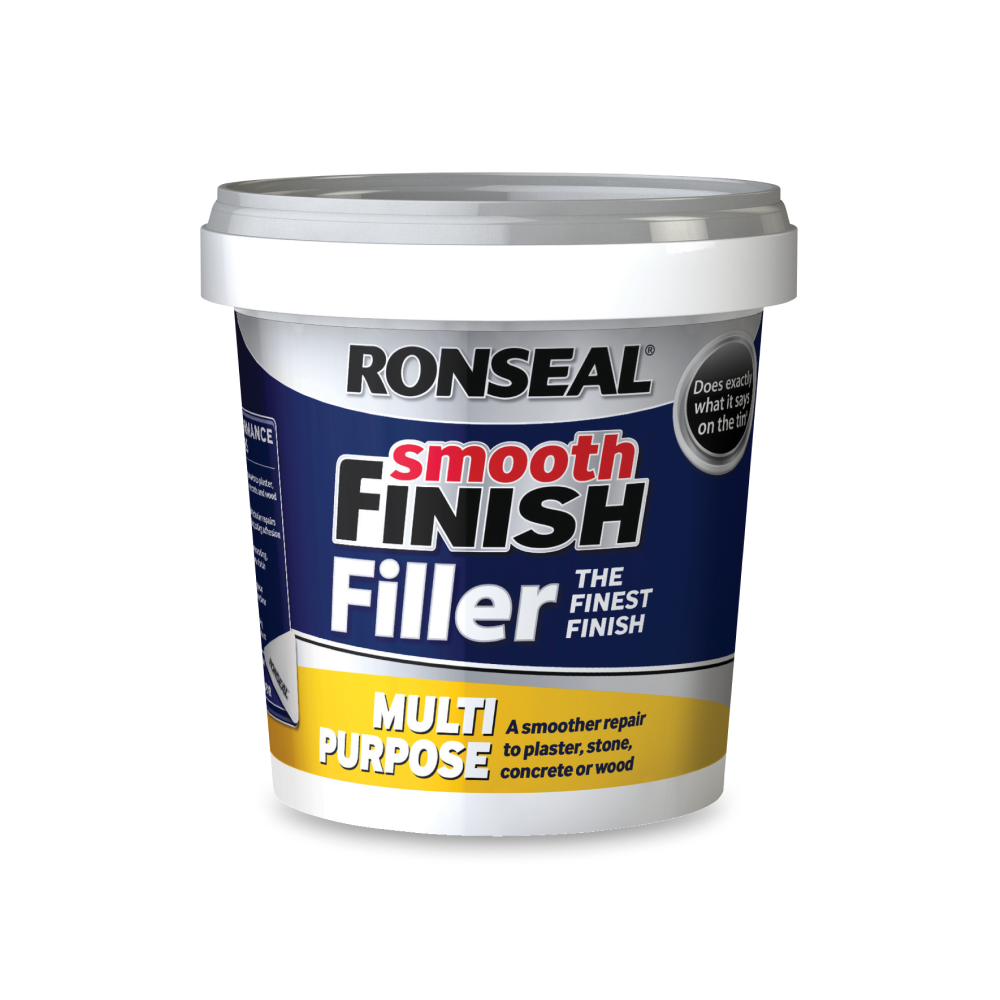
Ready-mixed fillers can be used on a variety of different jobs and are often really easy to apply. Unless it’s a special filler for a big hole, ready-mixed fillers range in the depths they can fill with the max often being about 20mm. We recommend our Multi Purpose Smooth Finish Filler.
Flexible
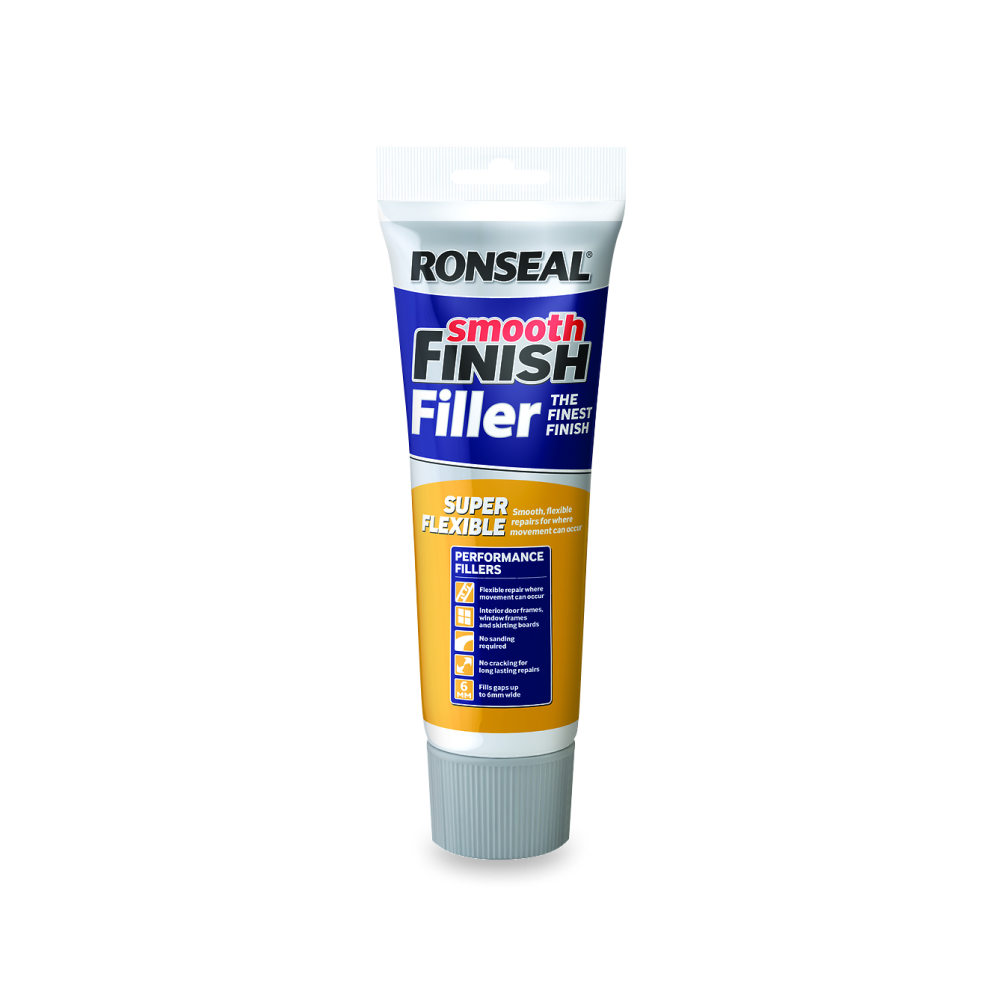
Flexible fillers allow for any movement in materials, so they’re great for brick, stone and wood. They’re long-lasting too but can often only fill relatively shallow holes or cracks.
Foam
Foam fillers expand once they’re in the hole so they are really tough and won’t shrink or crack. They’re useful for small but deep holes that might be awkward to fill with normal filler.
Exterior
While many fillers are versatile and can be used indoors and out, an exterior filler is, unsurprisingly, only suitable for outdoor projects. It’s specially formulated to be tough and can cope with water and changeable weather.
On top of these varieties, you also have:
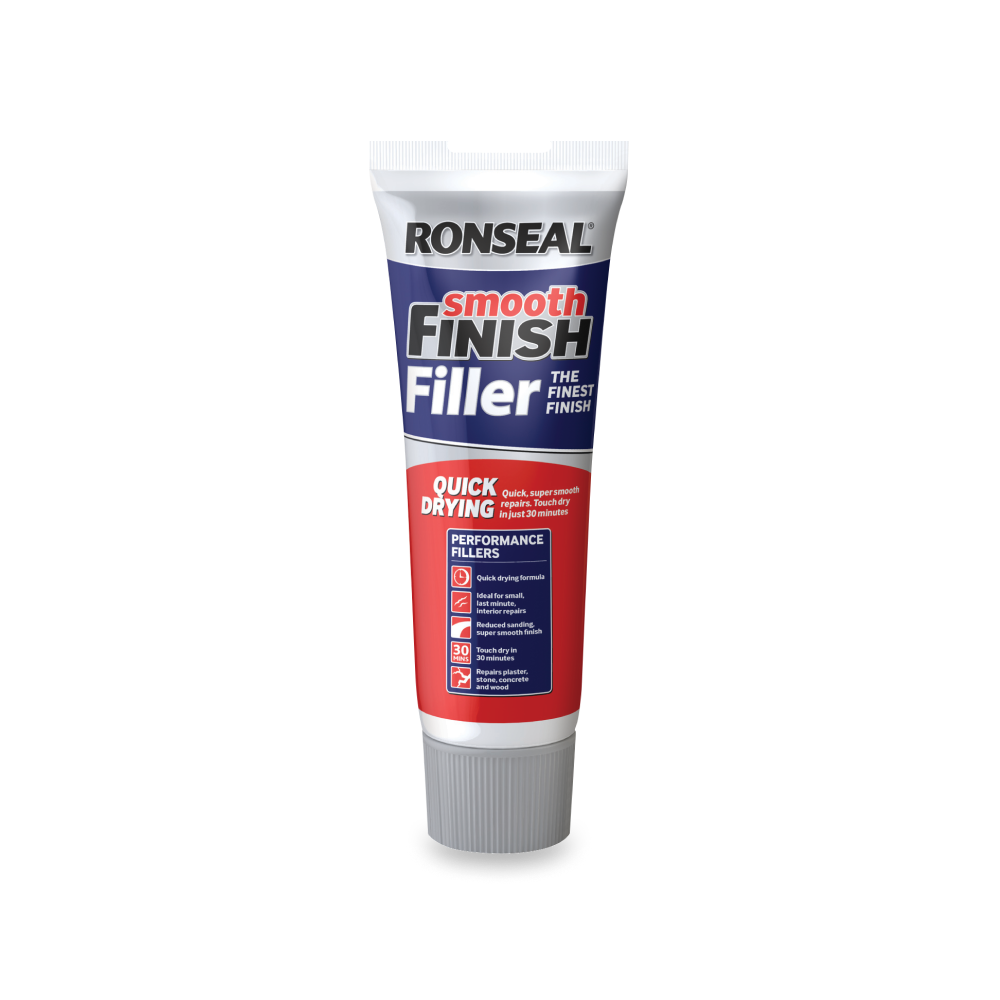
- fast-drying filler
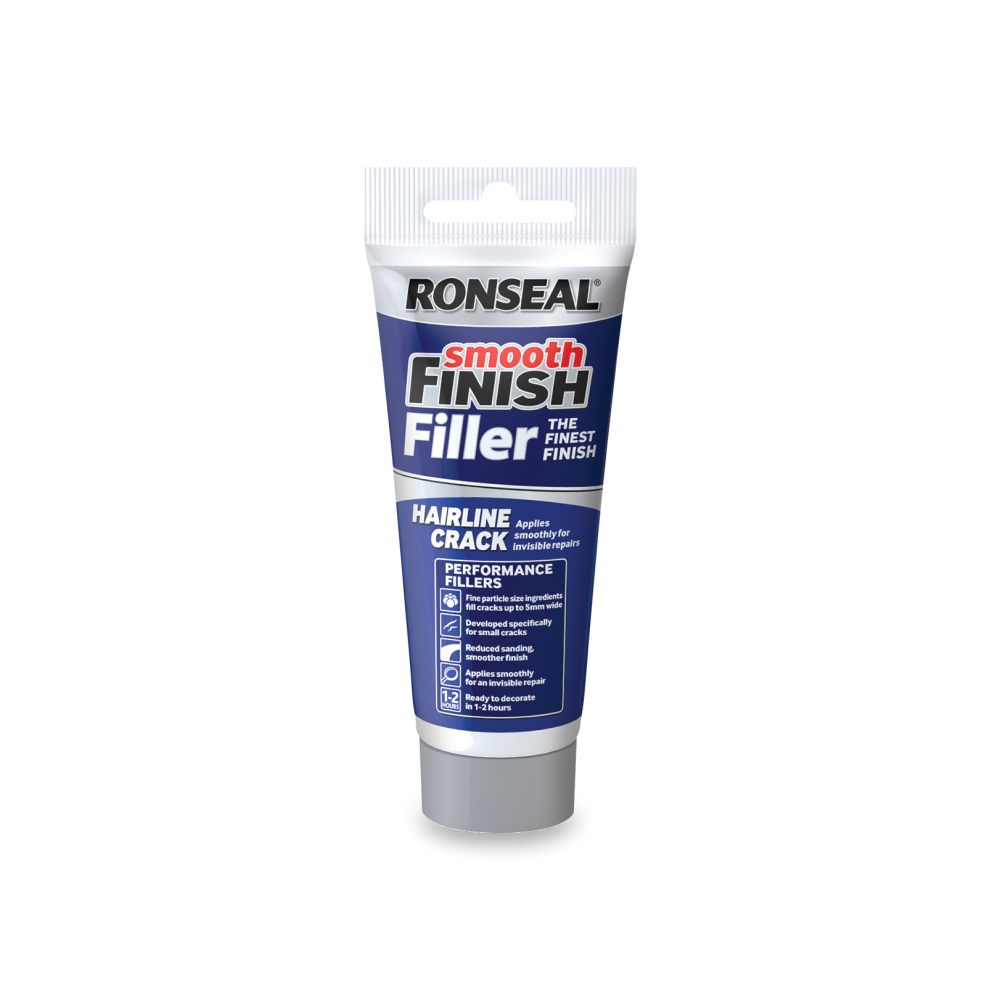
- fine filler - used in hairline cracks
- acrylic filler - for gaps between plaster and wood
How to fill a hole in your wall
Small holes or cracks in your walls are common in any home. As it shifts and settles you may notice cracks appear but don’t panic, it’s completely normal. You can fill a lot of hairline cracks and small holes with paint, but bigger ones need filler.
How to fill hairline cracks in plaster
Hairline cracks in plaster can appear for a number of reasons. Subsidence is the main cause and is nothing to worry about, it’s just materials naturally settling.
Cracks can sometimes indicate more serious damage. If you notice moist patches along the crack or that your wall is sagging or bulging, call a specialist to inspect the damage.
Most hairline cracks can be covered up easily.
- Use a flat-edged tool to get into the crack and scrape out loose materials.
- Use a filler specially made for hairline cracks and fill the gap.
- Once the filler is dry, sand it down.
- Apply another thin layer on top of the crack and leave it to dry. Sand this down too.
- Apply a mist coat of paint (watered-down paint) and this should blend in well with the rest of the wall, making the repair unnoticeable.
How to fill deep holes in walls
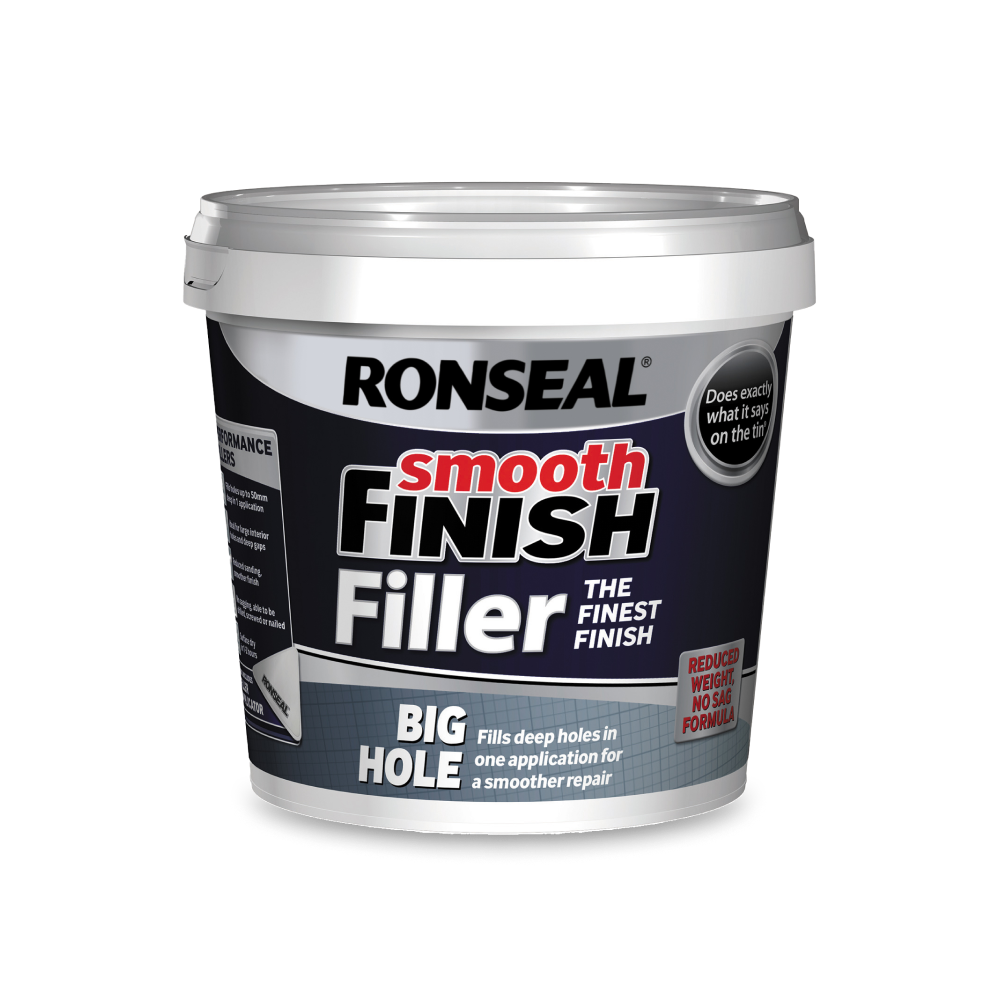
For bigger holes, you’ll need a filler that works specifically for that depth as many are surface fillers. Deep fillers are tougher than hairline fillers and are designed to stop the problem from worsening.
- Clean the hole making sure you remove all loose materials. You can do this with the edge of a scraper or a fine brush.
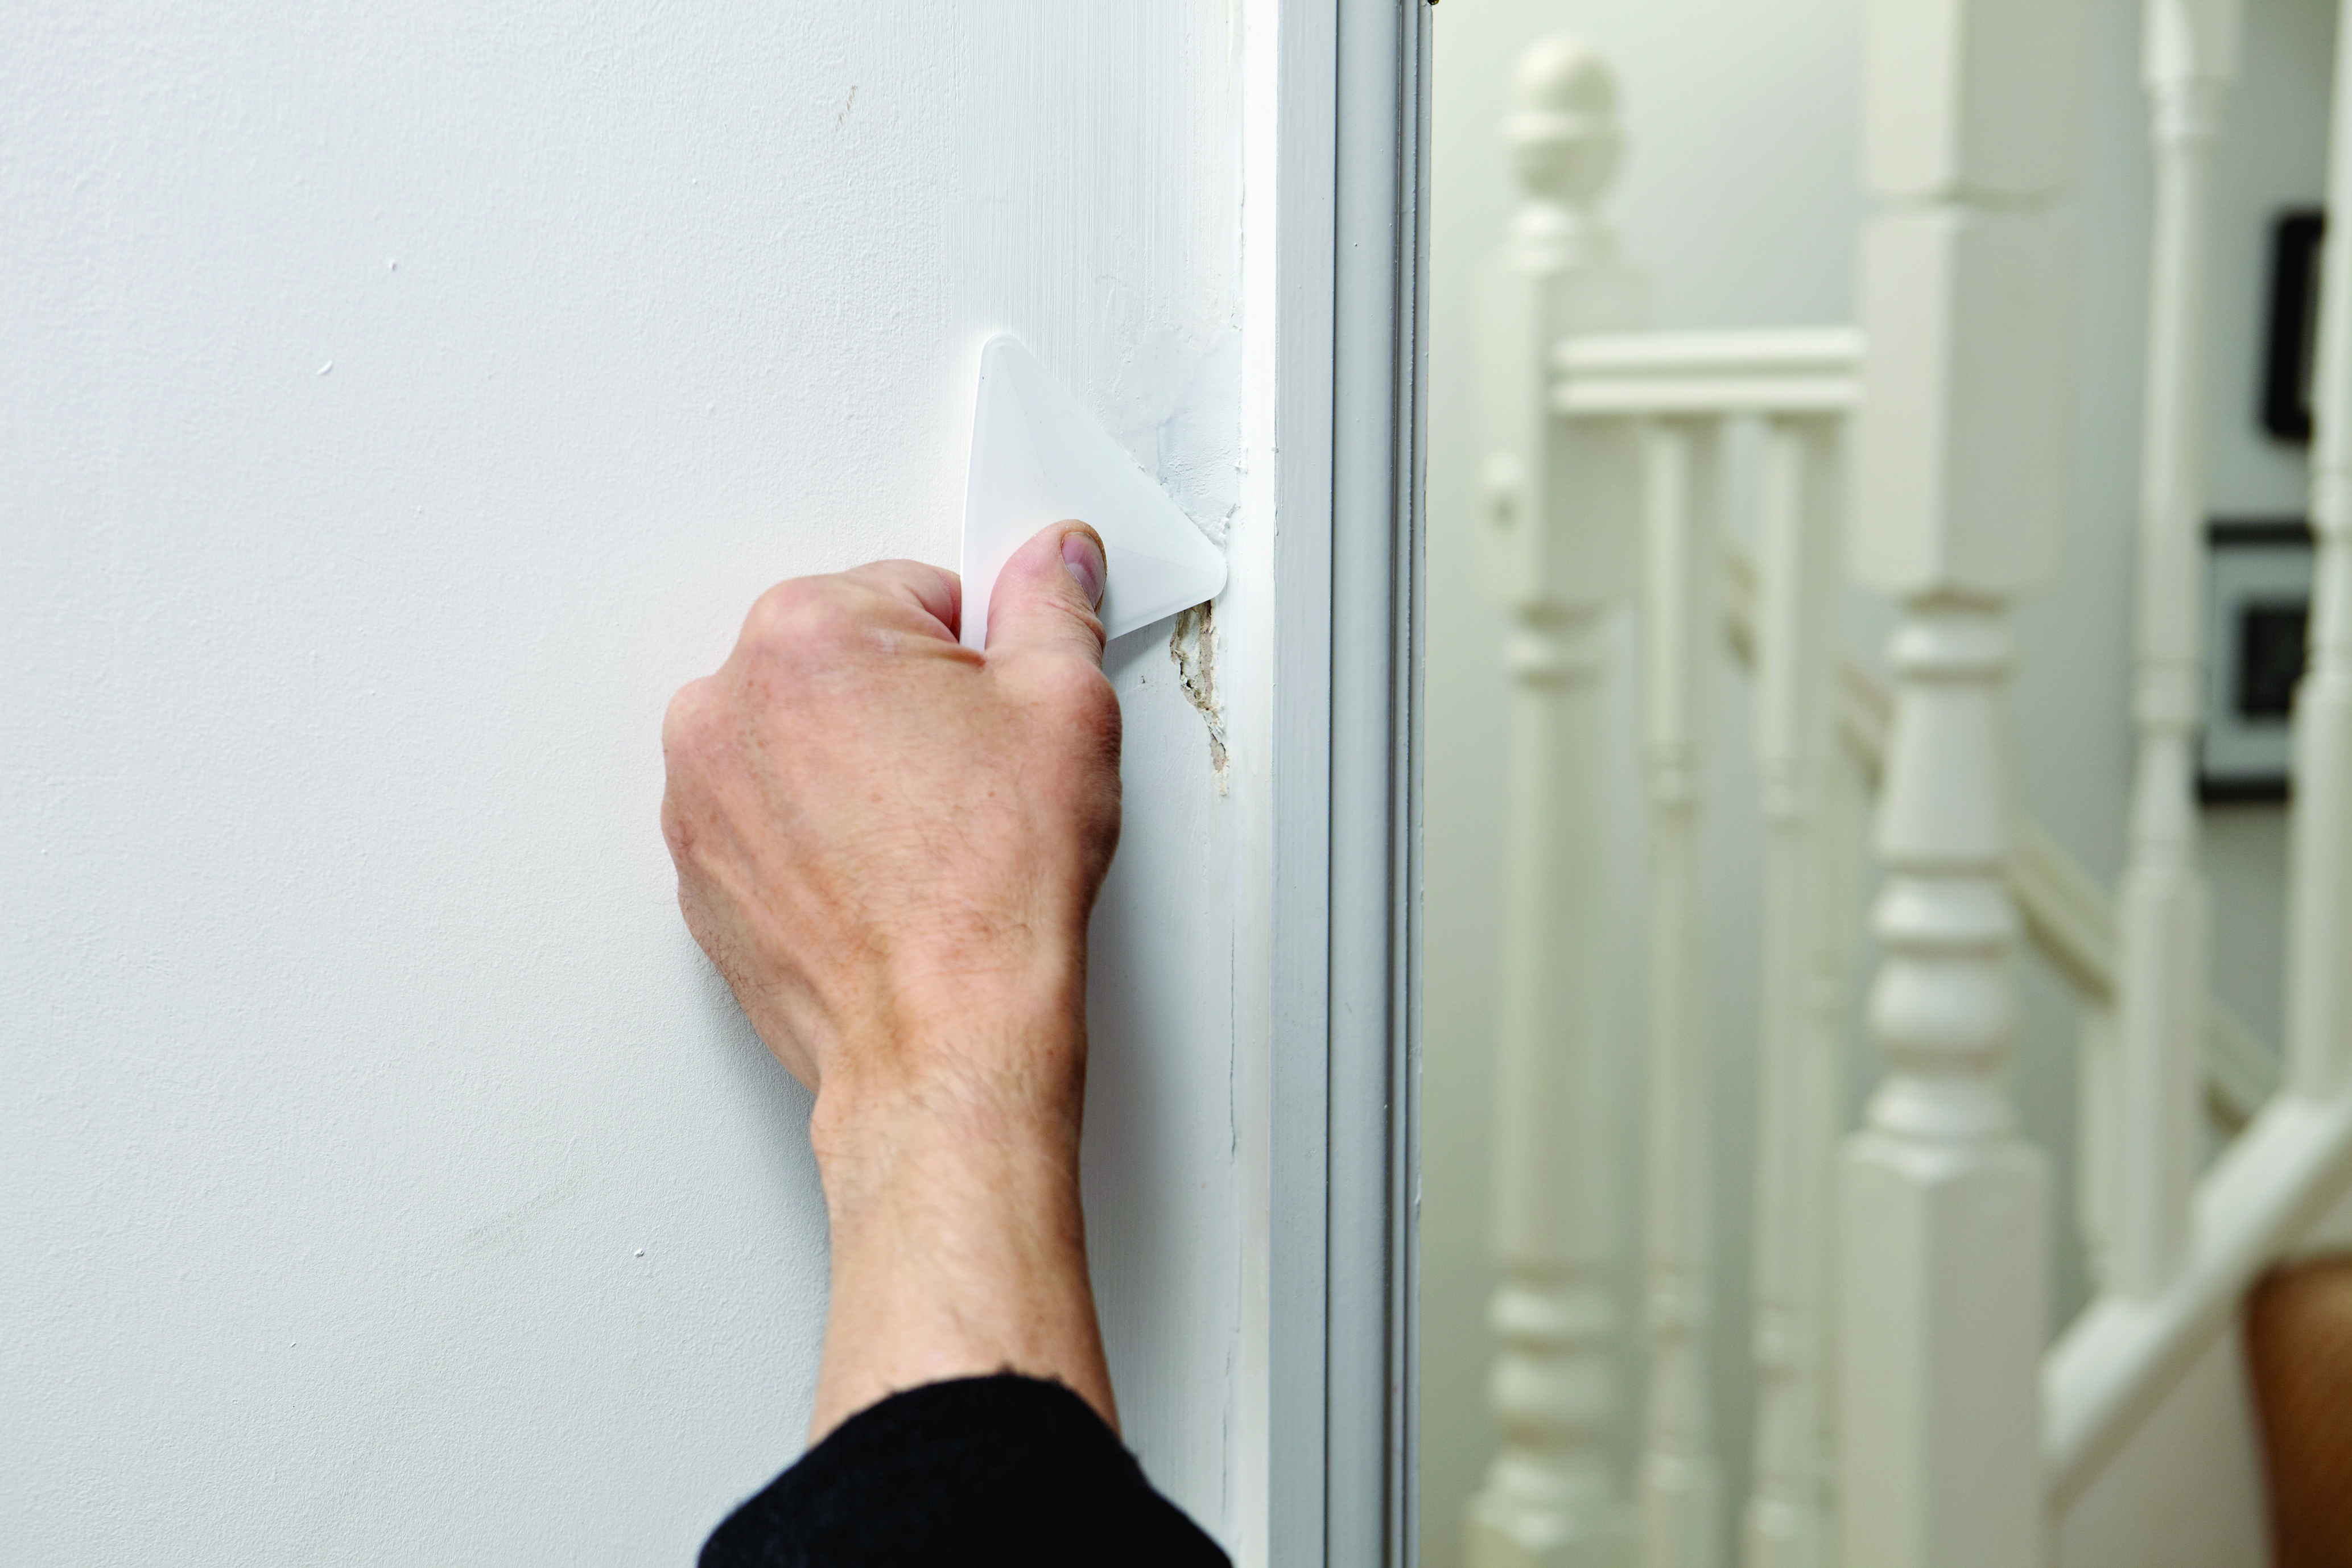
- Use a flat-edged filling tool to push the filler into the crack. It should be slightly overfilled to ensure it’s completely full.
- Smooth it with a wet knife.
- Check the instructions to see how long it takes to dry – this should typically be around one or two hours.
- Once dry, sand it down so it’s smooth with the wall.
- If you’re filling a particularly deep hole (more than 50mm deep) you’ll have to apply the filler in layers. Always be sure to wait for the first layer to dry before you apply another.
- Apply a mist coat to help the repair blend in with your paint.
How to fill holes in wood
Many fillers are multi-purpose and can be used for walls and wood alike so you don’t specifically have to buy a specialist. However, we recommend using our Multi Purpose Wood Filler that flexes and bends with the wood for a longer perfect finish.
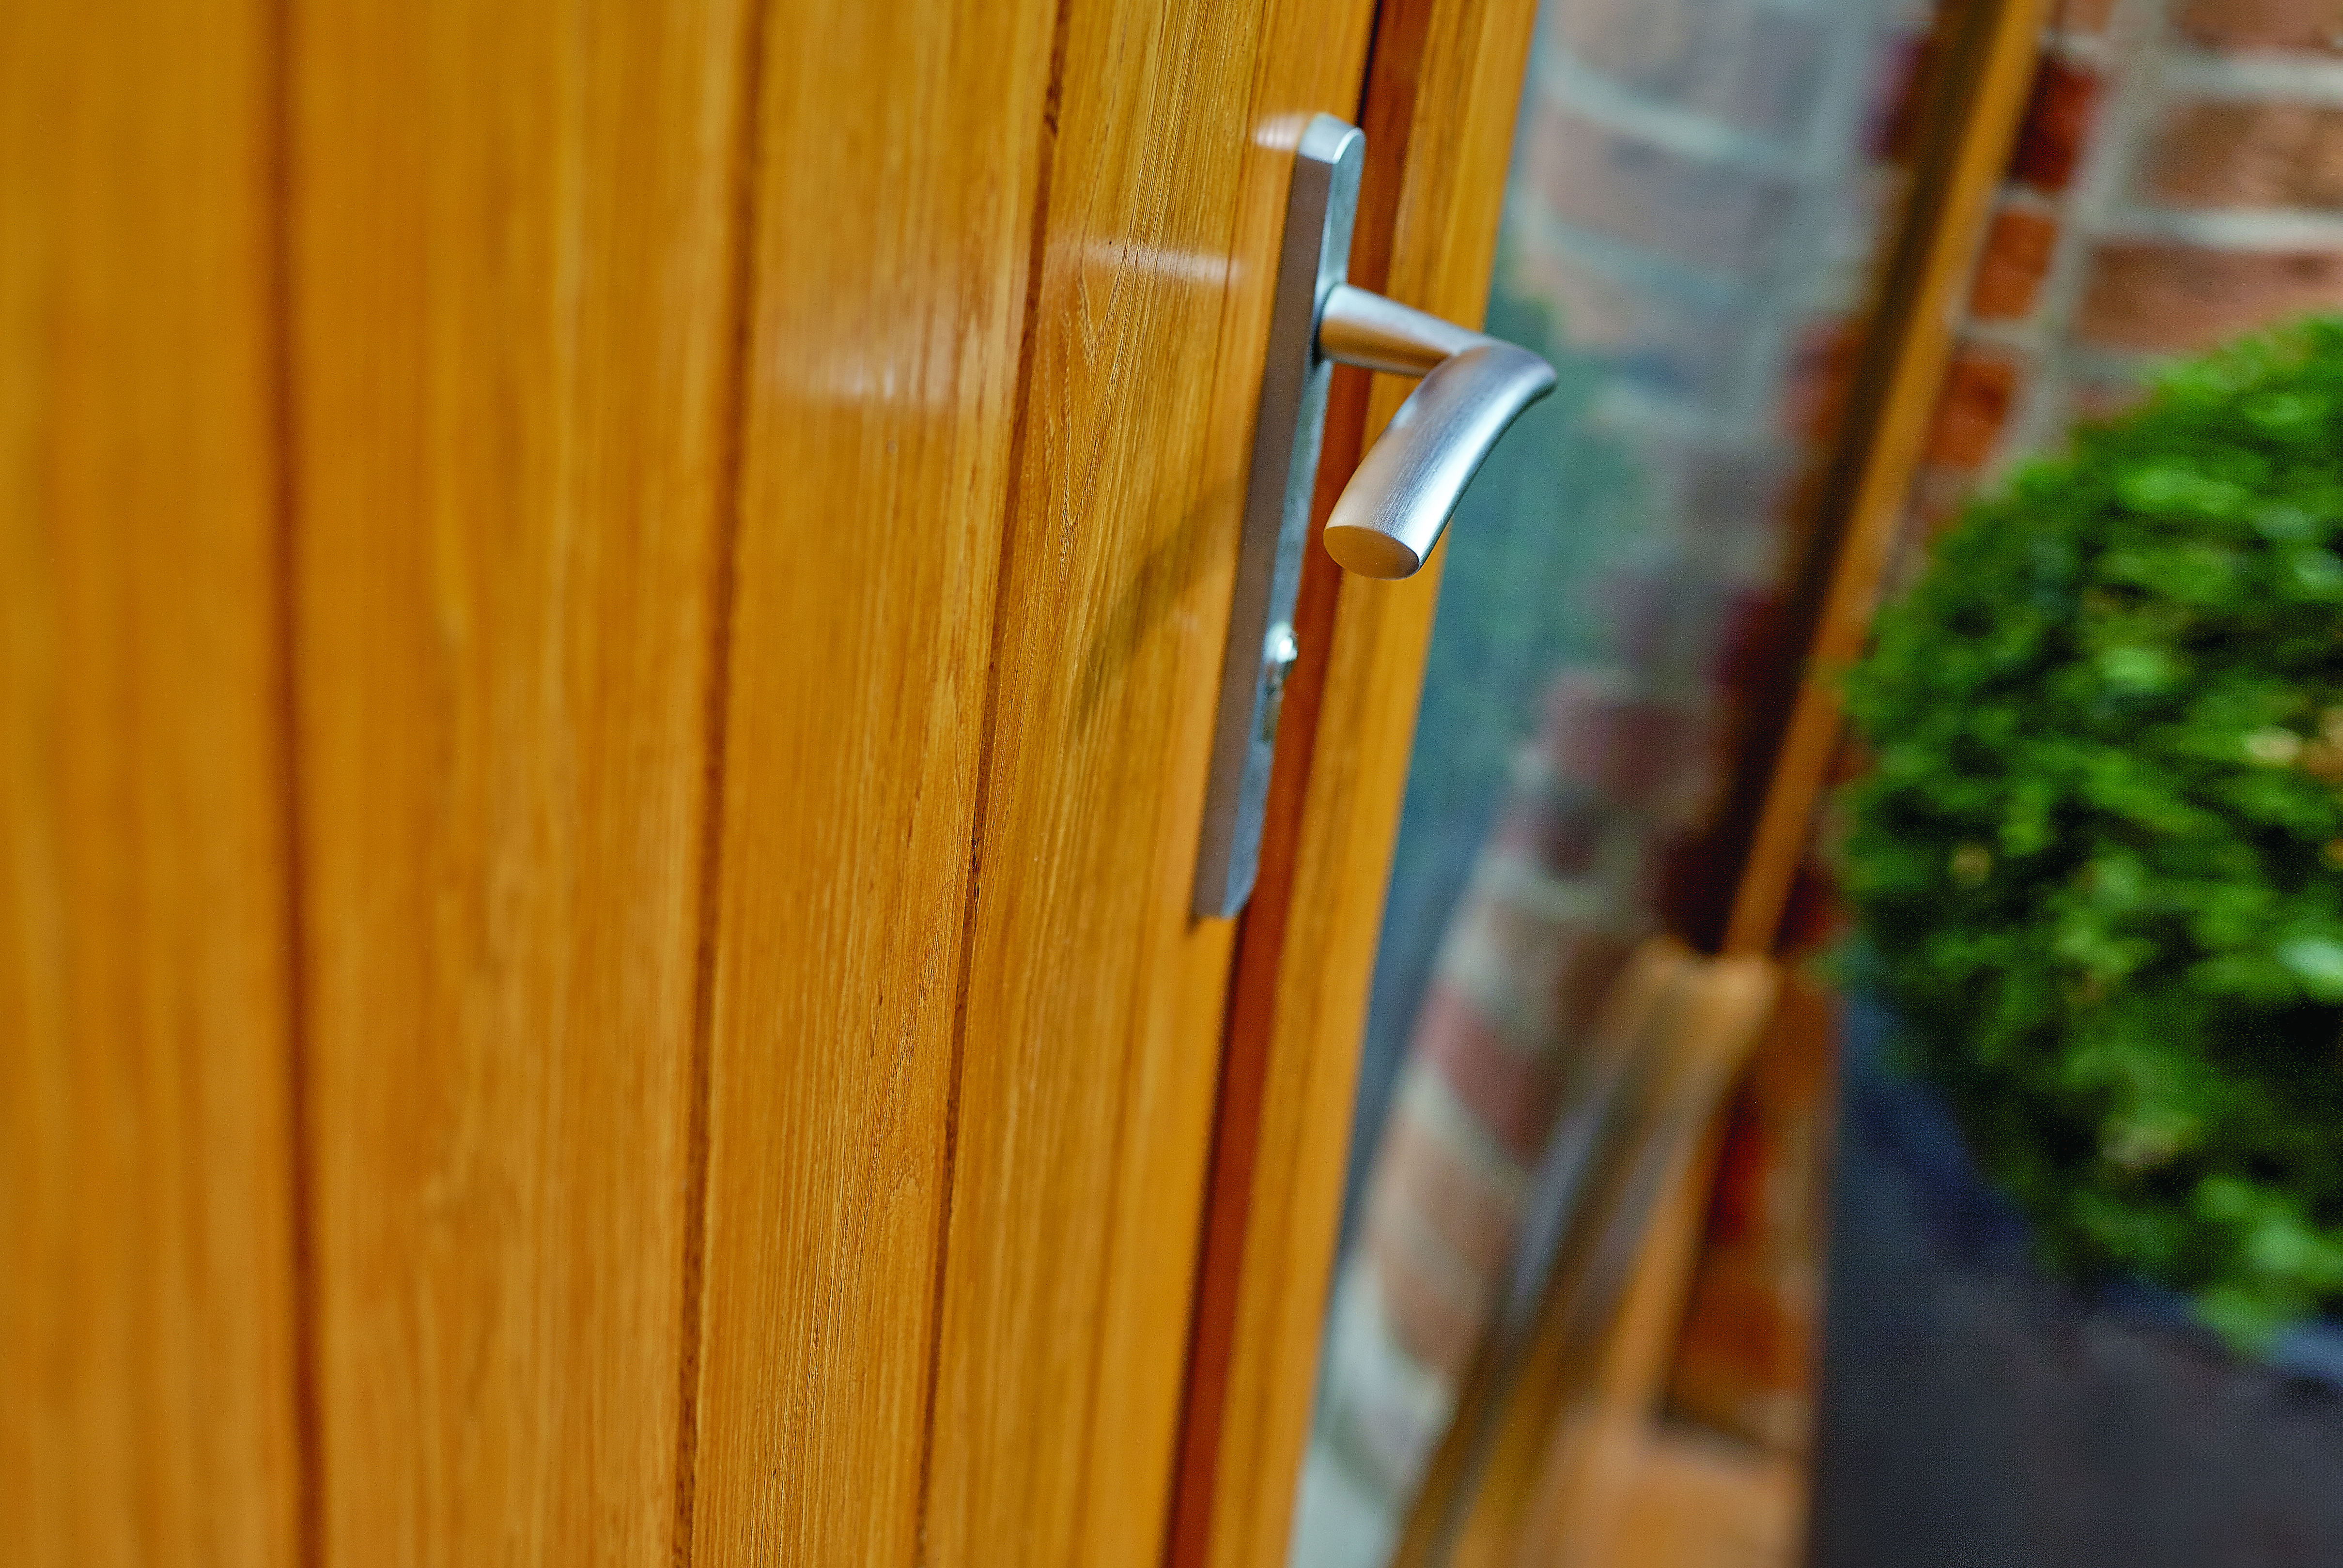
Filling holes in wood is a similar process to filling other surfaces but if the hole goes completely through the wood (like if you’ve removed a door handle, for instance), you need to do it slightly differently.
- Fill the hole ensuring it’s raised above the surface.
- For a hole that goes all the way through, lay the wood on a flat surface before you fill it.
- Once you’ve filled it, prop the wood up and check the fill to see if there are any gaps.
- If there is, top up the filler until it sits above the surface.
- Use a wet knife to smooth out the filler.
- Leave to dry.
- Sand down so the filler is now flush with the surface of the wood.
- You can now apply varnish or stain to your wood.
How to fill hairline cracks in ceilings
Ceilings are just as susceptible to movement as other areas of your home, so you might notice the occasional crack start to appear. Again, this is likely nothing to worry about but if you notice damp patches or sagging, call a professional to inspect the damage.
When it comes to the type of filler, you need to look for one that won’t sag or a specialist ceiling filler. Cover your floor and furniture with a dust sheet - the filler shouldn’t drip but it’s always better to be safe.
Make sure the area around the crack is clean and you’ve removed any loose bits from the crack.
- Fill the crack so it’s overfilled to make sure it’s full.
- Use a wet knife to smooth it down.
- Wait for it to dry.
- Lightly sand the surface so the filler is now flush with the ceiling.
- You will now be able to add a mist coat so the repair will blend in with the rest of your ceiling.
It’s really as easy as that. Once the hole is filled, the filler will be just as tough as your wall is.
How to fill a hole in a concrete wall
If you're looking to fix an exterior wall, be sure to use a filler that is designed to be water and frost resistant like our Exterior Multi Purpose Smooth Finish Filler.
Before you start, ensure that all surfaces are clean, completely dry and do not have any dust or grease.
- To ensure the hole gets completely filled, press the filler firmly into the hole or crack and make sure to overfill it slightly so that it is raised above the surface.
- Smooth it with a wet knife before it dries completely.
- You need to wait 1-2 hours for the filler to dry.
- You may need several layers if the hole you are filling is deeper than 20mm.
Remember, you'll need to wait 1-2 hours for each layer to dry before adding more.
Filling a hole in your wall is simple and can save you time and money. By following the steps outlined in this post, you'll be able to repair unsightly wall damage and restore the pristine appearance of your home's interior and exterior. Remember to choose the appropriate filler and method based on the size and surface of the hole and take your time to ensure a smooth and even finish.
You can find all our wall fillers for your next DIY project at your local stockist today!
