Project overview
How to apply and remove varnish from wood
Check out our in depth video walk thorugh on how to apply and remove varnish from wood
How to varnish wood
There are plenty of varnishes available that won’t yellow and leave your wood with a rich, glossy finish.
- Clean the wood
As with the start of the majority of DIY projects, you need to clean the wood first. Use white spirit and a lint-free cloth to wipe down the surface and remove grease, dirt and dust.
- Sand the wood
Use 120-grit sandpaper to smooth the surface. This will help the varnish stick and will give you a smooth finish. If you removed the previous coat with sandpaper, you don’t need to do this step.
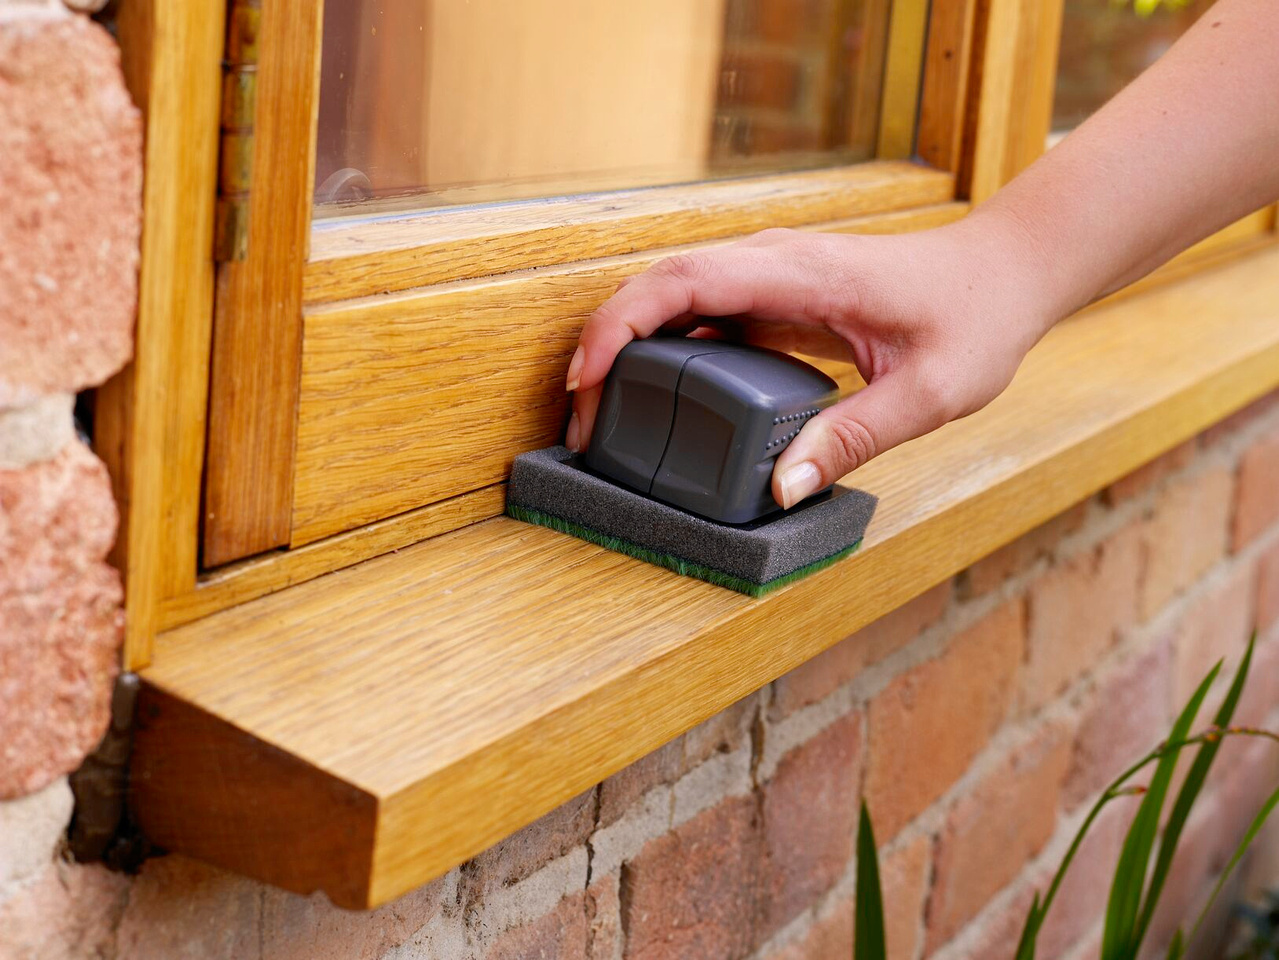
- Apply the varnish
- Thoroughly stir the varnish so it’s a smooth consistency with no lumps.
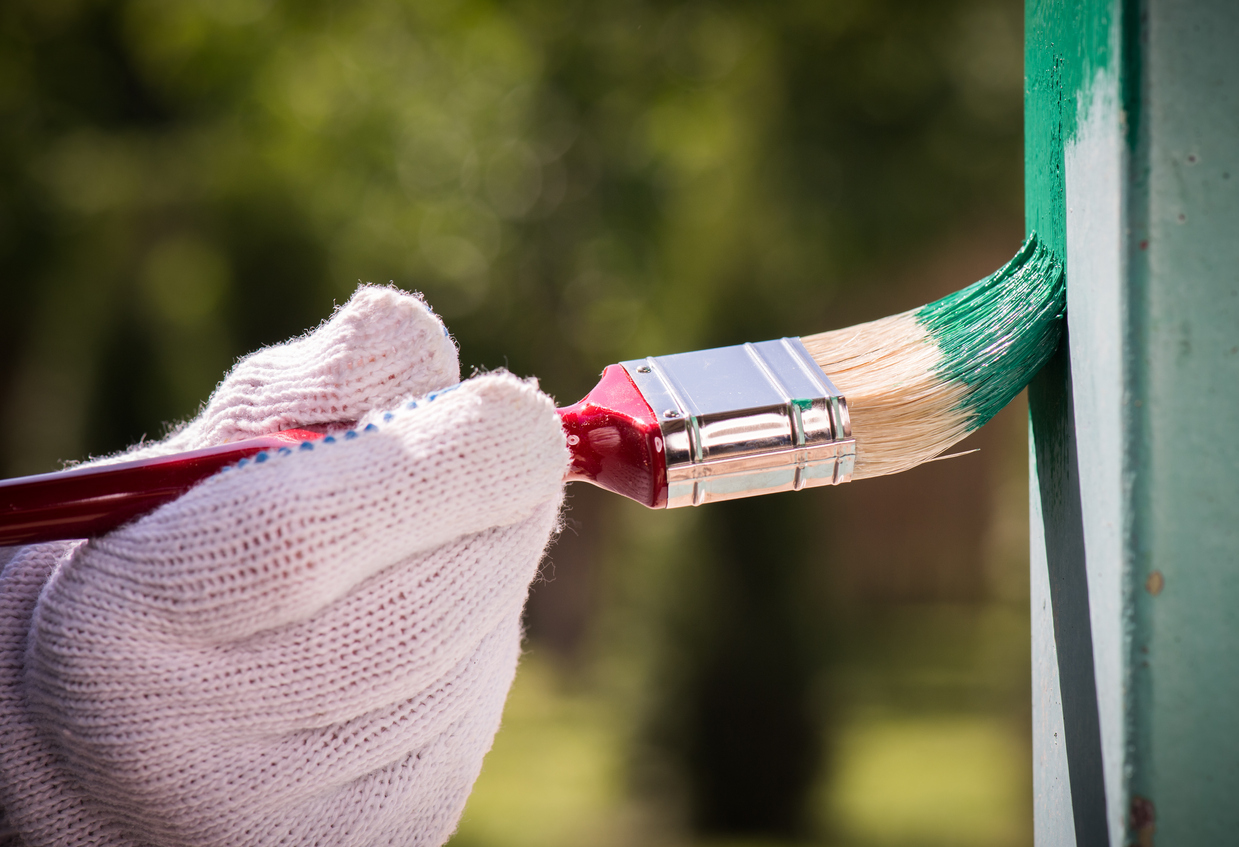
- Dip your paintbrush in the varnish, wiping off any excess on the rim of the tub.
- Paint in the direction of the wood grain, leaving a smooth finish.
- Check the manufacturer’s instructions for coat time and final dry time; you will likely have to apply two or three for a perfect finish.
How to remove varnish from wood
There are several ways you can remove varnish from wood.
Using a varnish stripper
Varnish stripper is most effective with wood with intricate detailing as it can easily get into all the nooks and crannies. There are a few things you should know before you buy a varnish stripper:
- Some can only be applied outdoors due to the chemical content and fumes.
If you’re stripping a bannister for example, always check the packaging to see if it’s suitable for indoor use.
- There are two main types of varnish strippers:
Solvent-based strippers
These are inexpensive, gentle on the wood, and penetrate deeper into the grain but because of how deeply the stripper penetrates, you may end up getting through it quite quickly. Solvent strippers also tend to have a strong smell so are best suited to ventilated areas or even the outdoors.
Caustic-based strippers
These are an alternative to solvents. They’re most effective with thick layers of paint or varnish and work faster. The fumes aren’t as strong so it’s more suitable for indoor use. However, caustic strippers can interact with chemicals in the wood (particularly mahogany and old oak) which may cause staining or scorching. So always be sure to test it on a small hidden patch first.
- Our sister brand, Colron, has a furniture stripper which is easy to use and removes varnish from your wood.
How to use varnish stripper:
- Prepare the area
- Varnish or paint stripper can be quite harsh. So you need to take the right steps to protect the surrounding area.
- Lay down dust sheets around and underneath the wood you’re stripping. If it’s adjacent to a wall, take steps to protect the wall too.
- If you’re using it indoors, open doors and windows to let the air circulate and ensure the room is well-ventilated.
- Apply the stripper
- Always remember to check the manufacturer’s instructions first, as these might vary slightly.
- However, generally speaking, you should apply a good layer of stripper to the wood using an old (or dispensable) brush.
- Wait
- You need to wait a few minutes for the stripper to work. Check the manufacturer’s instructions to see specifically how long you need to wait for it to be effective.
- You should also keep a close eye on the stripper to ensure it doesn’t dry out or damage the wood.
- Scrape
- Use a metal scraper to gently scrape away the varnish and expose the wood. It should be soft enough to come away quite easily without too much effort.
- You might find you need to apply some more stripper to get rid of the varnish or paint. If that’s the case, just repeat the process.
- Finally, check the manufacturer’s instructions to see if you need to wash down the surface to remove the excess chemicals.
Using sandpaper
If you plan on removing the varnish and then painting the wood, sanding can be an effective way to get rid of the varnish while prepping the wood at the same time. It’s also a natural and chemical-free way to remove varnish. It can however be labour-intensive:
- Start with 150-grit sandpaper and sand the entire surface.
- Then, move onto 220-grit sandpaper and repeat.
- This should remove the varnish. An orbital sander will make this job much easier and quicker if you’re removing varnish from a flat surface.
- However, you will have to sand by hand for curved surfaces.
Using a heat gun
A heat gun works similarly to a stripper, by softening and loosening the varnish to make it easier to remove. A heat gun won’t scorch the wood but you will still need to scrape off the varnish or paint. Remember, always wear protective gloves and goggles when using a heat gun and pay close attention to what you’re doing, especially as you’re working with wood.
- Wash the surface
- Use warm soapy water to clean the wood and remove dirt, dust and anything else that may react with the heat.
- Pat dry the wood with a lint-free cloth.
- Use the heat gun
- As is the case with varnish stripper, you should read the instructions first before you begin.
- Set the heat to low or medium and hold the gun close to the surface without touching it.
- Focus on one specific patch and move the heat slowly over the area.
- As the varnish softens, scrape it away before moving on to the next patch.
3. Finish up
- You might be left with some spots of varnish that are in difficult-to-reach places.
- Sandpaper will be the best way for tidying up the leftover patches.
Painting varnished wood and furniture
If your varnish isn’t flaking and is in good condition, you can paint over the top of it. This is particularly useful if you just want to change the colour of the varnish. However, if you’re using a contrasting colour, stripping the old varnish will ensure you have a better and more accurate colour. You still have to carry out some essential prep to make sure you get the best finish.
- Scrub the surface
- First, you need to clean the wood to get rid of any lodged dirt and dust. You can just use warm soapy water or a household cleaner to do this.
- At the same time, you should remove any fixings (like handles) which will get in the way of your paint.
- Sand the surface
- Use 180-grit sandpaper to sand the varnish so the surface is rough enough for the primer to stick.
- Wipe away dust with a damp cloth.
- Apply the primer
- As you’re painting over varnish, the primer will help your final coats of paint stick better and will provide you with a lasting even finish.
- Apply your primer using a roller or paintbrush and check the manufacturer’s instructions for information on the number of coats and dry time.
- Add your top coat
- Once you’re satisfied with the primer, you can apply your top coat.
If you want to know specifically how to protect your interior wooden doors with Ronseal Interior Varnish, please take a look at the video below.
What can I varnish?
Just like certain waxes and paint, varnishing is another way for you to protect wood. However, varnishing isn't always the most appropriate approach depending on the project and outcome you desire. Here are some commonly asked questions about what you can and can’t varnish:
Can you varnish over paint?
Technically speaking you can varnish over emulsion, but we don’t recommend it. You should always use a specialist paint for any DIY job which, in this instance, would be wood paint rather than varnish.
Can you varnish over wax?
No, you can't varnish over wax, if you do this you’ll find that the varnish will easily bubble and peel off. If you want to varnish over a waxed surface, you need to remove the wax first.
Can you varnish MDF?
Yes, you can varnish MDF but you won’t get the same textured finish as you would when varnishing other wood. This is because MDF doesn’t have a grain, so the varnish will add a shiny protective coating without drawing out any character.
MDF is incredibly porous too. If you spill any water on it you’ll find it absorbs it and permanently discolours, so using varnish could be tricky. You can buy MDF sealants which protect the wood, dry clear and can be varnished over.
If you don’t want to use a sealant, apply very thin coats of varnish to help build up layers and protect the wood. Sand in between each layer and wipe away the dust and repeat this until you’re satisfied with the colour and coverage.
Can you varnish over chalk paint?
Chalk paint is largely used for painting furniture because of its coverage and matt finish. You don’t necessarily have to seal or finish chalk paint; if you use good quality paint it will include a top coat and stand up to wear and tear.
You can varnish over chalk paint, but you don’t always need to. Check the tin of your chosen paint to see if it specifies a finishing coat, if it does, a clear non-yellowing varnish will give you the effect you want.
Ready to get started? Find your nearest Ronseal stockist and let us help you finish your DIY project today.
