Project overview
How to decorate your kitchen - Video Guide
If you want a more in depth walk thorugh of how to decorate your kitchen, check out this video.
How to paint kitchen cupboards
Painting your kitchen units is affordable and alongside some new handles, can give your kitchen a completely new look. Kitchen cupboard paint comes in plenty of different colours, so you don’t have to stick with a boring brown or white.
Once you’ve chosen your colour, here’s how to paint kitchen units.
For this job all you need is paint, a paintbrush, sugar soap, and sandpaper.
1. Clear the kitchen
If you’re painting kitchen drawers, empty the contents. You don’t need to do the same for cupboards as you’ll instead remove the doors to paint them flat. This makes the job easier and means the paint is less likely to run and streak.
Lay down a dustsheet and remove handles and hinges from drawers and cupboards.
Clean the surface you’re painting. This might be a bit trickier than normal because of grease and dirt that builds up in your kitchen from cooking. You can use a sugar soap solution which is really good for cutting through grease and giving you a pristine surface ready for decorating. If that doesn’t quite work, use a kitchen cleaner to scrub at really tough stains.
You always need to use sugar soap before you start decorating as this helps to get rid of dirt you may not be able to see.
2. Sand the surface
The next steps depend on the quality of the paint. If your cupboards have old paint on them that’s bubbling or peeling, you need to remove this first. Just sand down problem areas and use a flat-edged scraper to get underneath the paint and peel it away.
If you don’t have any peeling paint, you just need to give the cupboard or drawer a quick sand down which helps the paint stick better.
Wipe away any excess dust and you’re ready to start painting.
3. Paint your cupboards
You should always check the manufacturer’s instructions before you start painting to make sure you get it right. If you’re using our kitchen cupboard paint, here’s how to do a good job.
First, you need to stir the paint to smooth out any lumps.
Load up your paintbrush and wipe off excess paint on the rim of the can. Apply the paint to the cupboard door, working in long strokes. For the best finish and a consistent look, make sure your last stroke is vertical.
Wait 24 hours for the first coat to dry. Check you’re happy with the coverage and depth of the colour. If it looks patchy or you’re covering a strong colour with a light one, you will need to apply a second coat. Porous surfaces can also quickly absorb paint, so you may need to apply a second coat in this instance.
Once the paint has completely dried, reattach the cupboard doors and fill your drawers.
How to paint laminate kitchen cupboards
If you’re painting a laminate cabinet, you can follow all the steps above.
The only difference is that you may need to use a primer. Laminate is very shiny and so it can be hard for paint to stick. It’s also prone to scratching so a primer helps prevent your paint from chipping easily.
If you’re painting laminate cabinets you’ll need to thoroughly sand it and then apply primer. You may also find that applying several thin coats of paint gives you the result you want.
Try testing your method on a small patch first to check the coverage and colour. That should give you a good idea of what how many coats you need, or whether you need primer.
How to clean kitchen tiles
There are loads of different ways you can clean your tiles. From natural products to everyday household cleaner, steamers, and eco-friendly products there are plenty of ways to get your tiles sparkling. For the best and most satisfying results, you’ll have to pay attention to your grout too.
Clean the grout first as you might end up with dirt spreading around the tiles that you’ve just cleaned. To clean grout you can either use a specialist grout cleaner or some bleach and a toothbrush. All you need to do is give it a good scrub and your grout will be brighter and cleaner.
To get your tiles clean, first give them a scrub with some washing up liquid and a cloth. Washing up liquid is designed to cut through grease, so it’s fine to use on your tiles. If you have a softer material, be careful with rough scouring pads as these can scratch the tile. Natural remedies that help with grease include white vinegar and baking soda.
For the actual tiles, you can use specialist tile cleaner which you apply with a damp sponge, gently rub in and wipe dry. You can then polish up your tiles and they’ll look good as new. For particularly tough stains, you might need to leave it on for a little while to soak in.
How to paint tiles in the kitchen
Painting your tiles can freshen up the look of your kitchen in the same way painting the cupboards can.
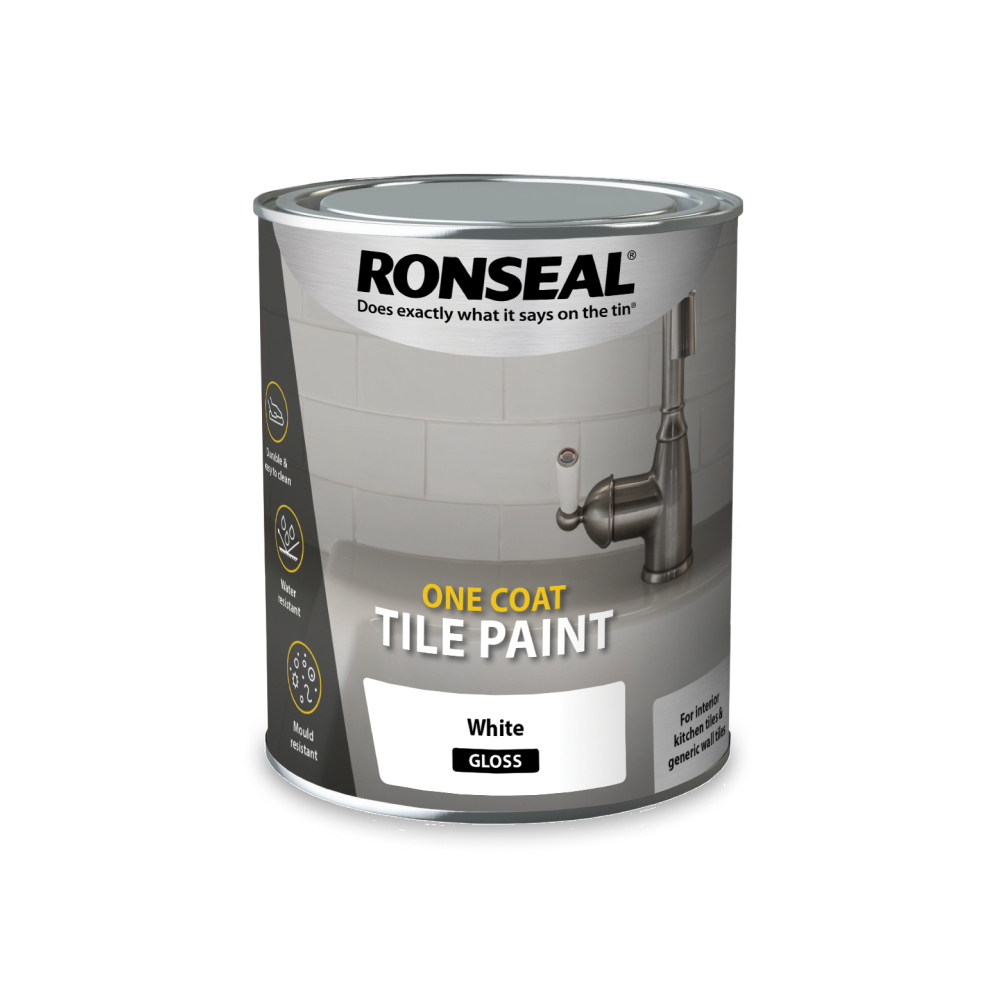
If you don’t do it right though, the final result can look a little bit shabby so it’s important to use the right products that are suited to the job. Tile paint is specially designed to cover tougher surfaces and leave a deep colour with perfect coverage. It’s also waterproof and mould resistant.
When you’ve picked your new tile colour, follow the process and paint just one tile to make sure you’re happy with the end result.
1. Thoroughly clean the tiles
Kitchen tiles are prone to attracting grease and dirt. You don’t want that dirt ingrained in your paint, so you need to clean it all off first.
Use a scouring pad (depending on the material of your tiles) and scrub at the dirt with sugar soap. If your tiles are made of a softer material that can scratch easily, use a cloth. Sugar soap is specially formulated to cut through grease and prepare for decorating so it’s essential. Don’t forget to clean the grout either.
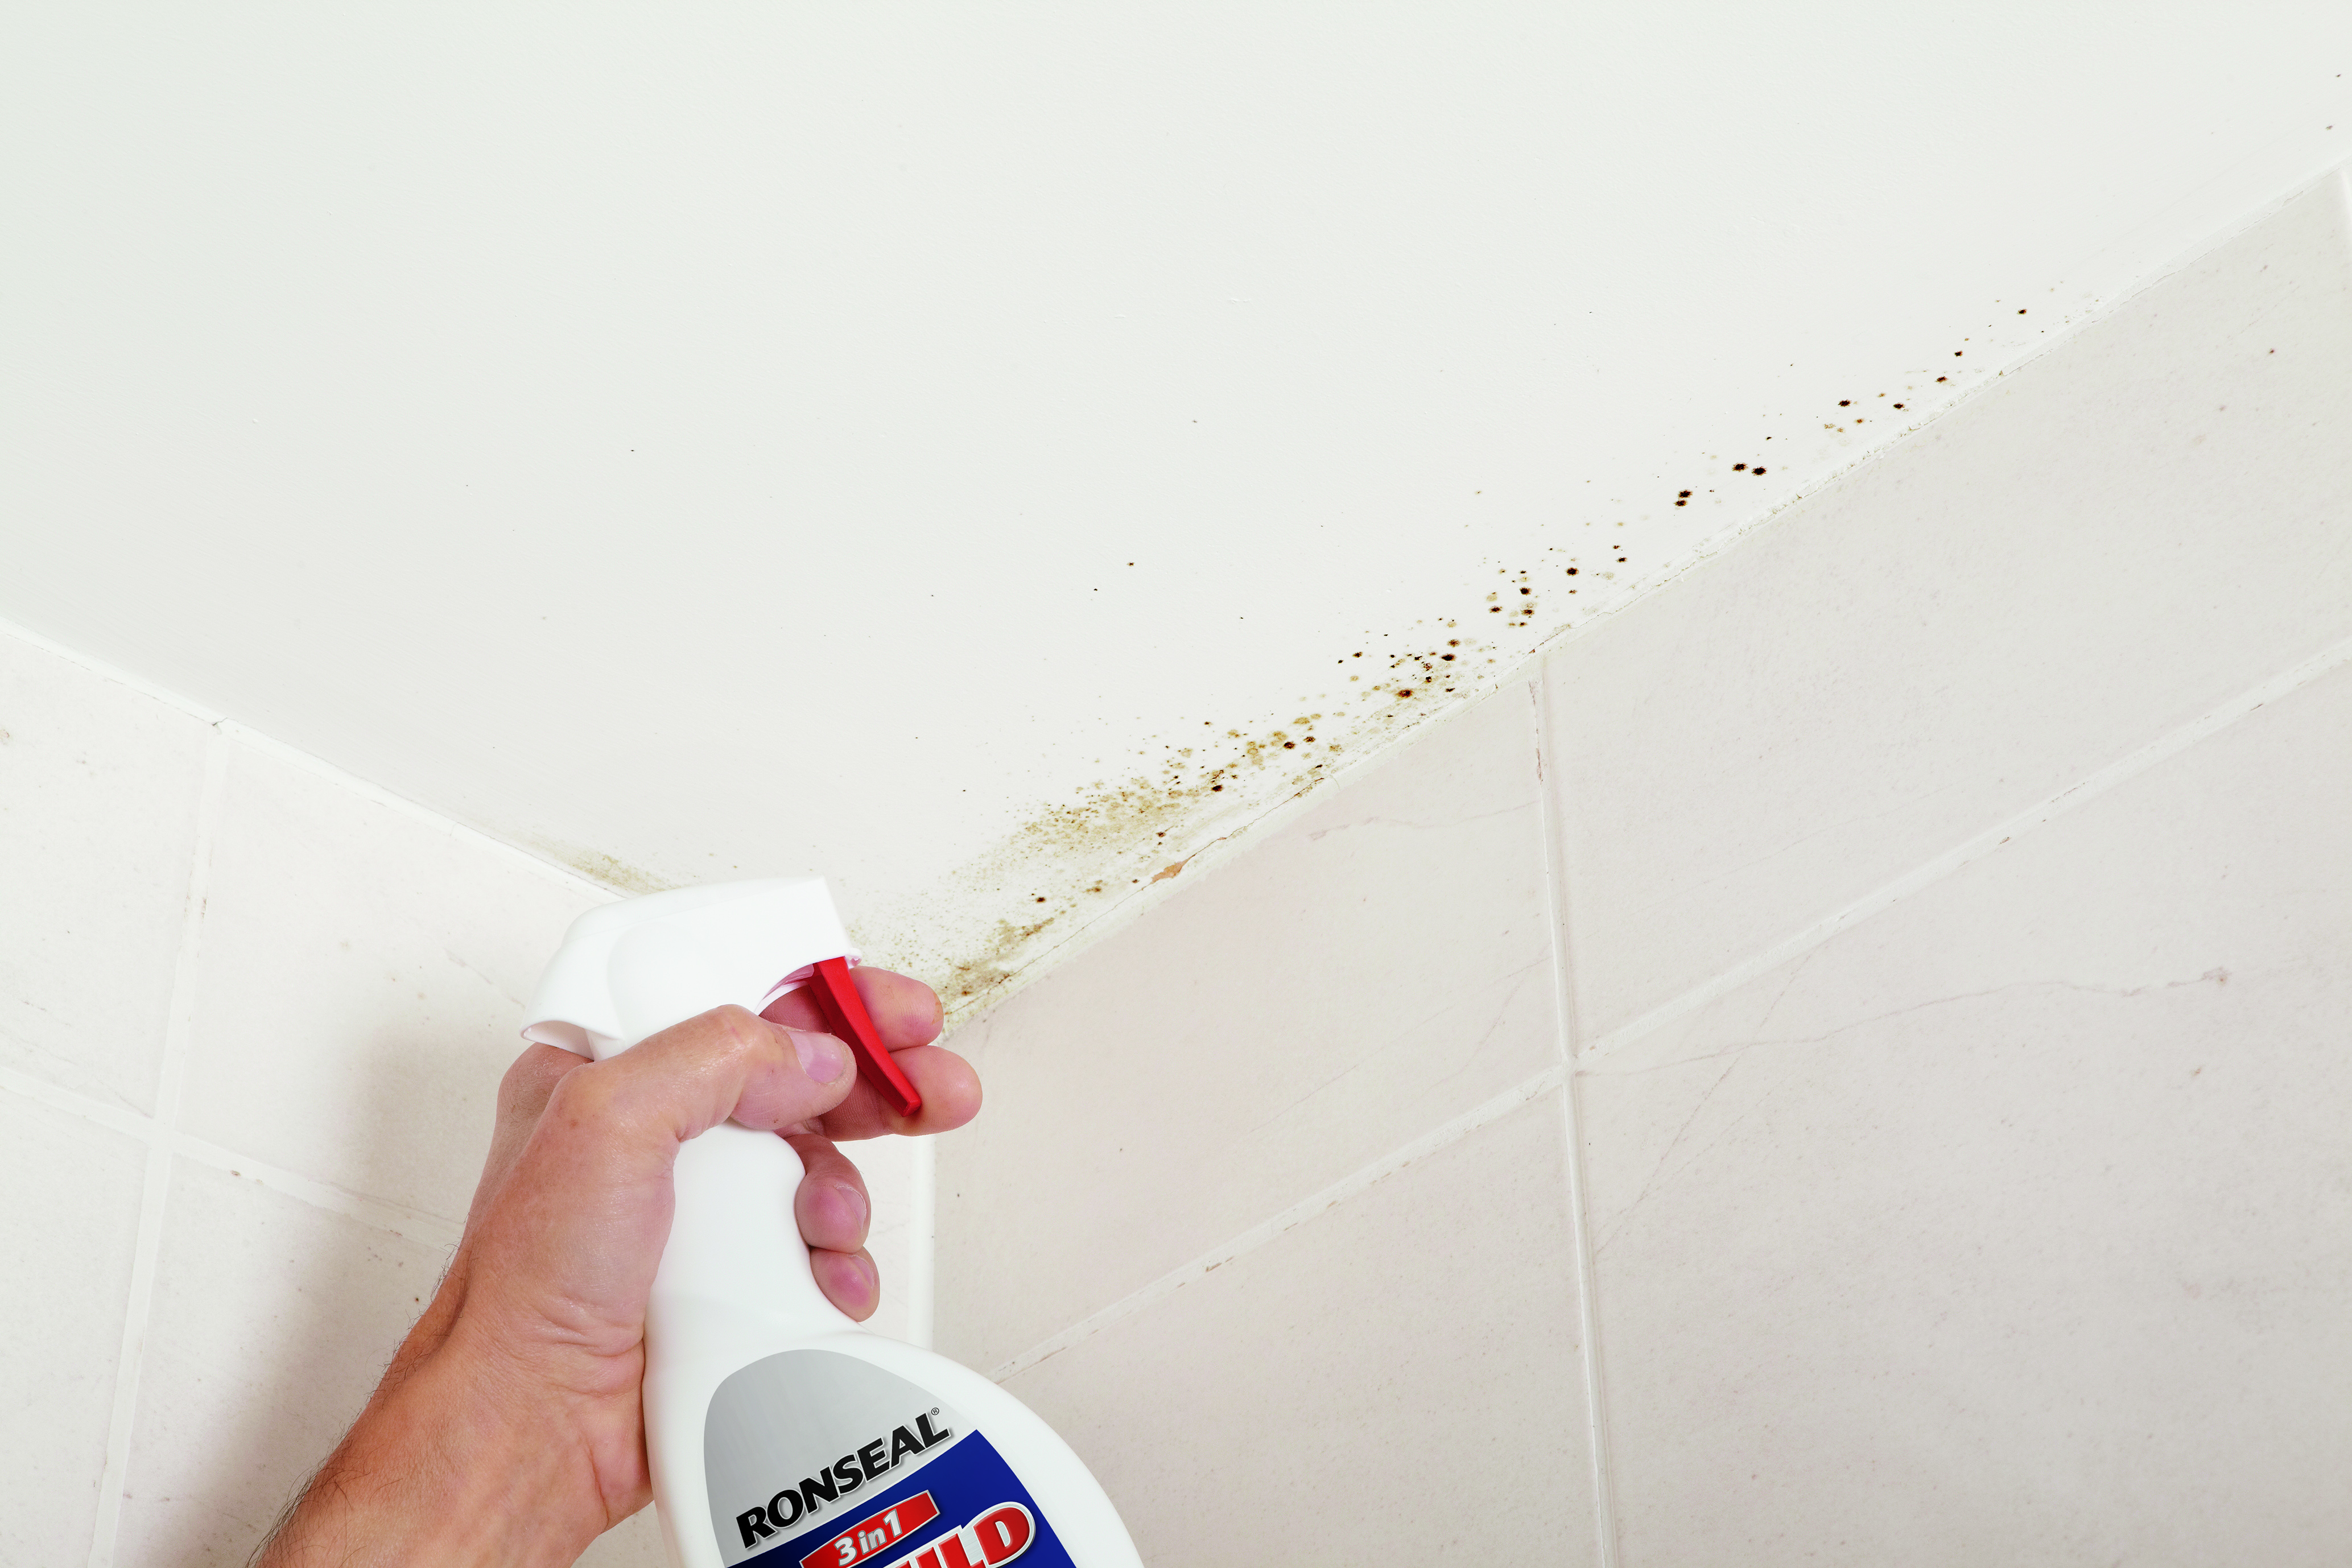
If there’s any spots of mould, use a specialist mould killer to get rid of these before you start painting. You don’t want the mould spores to spread and ruin your hard work.
2. Sand the tiles
Lightly and quickly sand your tiles. This provides a better surface for your paint to stick to and gives you an even finish.
3. Start painting
Check the manufacturer’s instructions before you begin to make sure you get it right. Some paints might need a primer applied to the tiles first, so if you’re not using our tile paint, check the tin.
Otherwise, stir the paint thoroughly and apply one coat. Use long brush strokes and work the paint into the grout line for a consistent finish. Finish each tile with a vertical stroke for uniformity.
Wait 24 hours for the coat to dry. Once it’s dry, check you’re happy with the colour. If you’re covering a dark colour with a lighter one, you might need a second coat.
As soon as you’re happy with the colour and it’s dry, use a grout pen to redefine the grout line.
After painting you can clean your tiles as normal with a kitchen cleaner.
How to remove kitchen wall tiles
Once you get the first one of the way, removing kitchen wall tiles is an easy but messy job.
For this job you’ll need goggles, a thin chisel or sharp-pointed flat headed screwdriver, and a hammer.
1. Prep
Don your safety goggles and cover up any surface that could be chipped by flying bits of tile.
2. Find the first tile
Removing the first tile is always the hardest because there’s no obvious place to start. See if there’s any tiles that are already slightly loose or give you a good enough angle to slide the chisel behind.
Tuck the point of your chisel or screwdriver behind the tile and pry towards you. The tile should start to come away from the wall, keep going until it comes loose. It might come apart in several chunks but that doesn’t matter.
3. Do the rest
Once you’ve removed the first tile, repeat the same process across the rest of the tiles.
You might find that there’s loads of dried adhesive stuck to the wall. You need to remove this before you can fit the new tiles. Most adhesive should come away when you tap at it with a hammer and chisel.
How to lay floor tiles in the kitchen
Laying floor tiles requires a little bit of planning, but it’s not too difficult a job when you get into it.
You need to start laying tiles from the centre point in the room and working your way out to each corner. This ensures you don’t have any odd sized tiles in random places throughout the room. Make sure you finish at a corner by the door so you’re not walking across drying tiles when you’re finished.
As your kitchen is undoubtedly an area you use often, you might find it easier to tile one half of the room first and let it dry. That way, you can still use the kitchen as normal without treading over wet tiles and running the finish.
Floor tiles can be laid on concrete, wooden floorboards and on top of other tiles. Whatever surface you lay them on, you need to make sure it’s flat, dry and free from damp.
If there’s any adhesive left over from old tiles, remove that and sweep the floor. Dusty floors can be primed with diluted PVA adhesive and left to dry. This will give you a suitable surface to lay your tiles on.
The tiles you buy will have instructions on how they should be laid, so always check these before you start.
For this project you’ll need chalk line, string, a pencil, tiles, tile spacers, tile adhesive, gauging trowel, notched trowel, tile cutter.
1. Find the centre
Before you can lay a single tile you need to find the centre point.
Measure the width of one wall and find the midpoint. Mark that on your floor and do the same with the opposite wall. Stretch a chalk line between the two marks and snap it so it marks the floor. Mark the centre point of this line.
From the centre point of that line, use pencil with roughly one meter of string attached. Hold the end of the string at the centre point and pull it taut. Draw a circle around the midpoint.
Move the end of the string to a point where the circle crosses the chalk line. Again extend the string and hold it taut and draw and arc angled at about 45 degrees on either side of the original line. Now you will have one circle and two arcs on either side of the circle. Move the end of the string to the other point where the circle crosses the line and repeat the process. You should now have two Xs either side of the circle.
Run your chalk line through the centre of both Xs and snap it to mark the floor. You should now have two lines that cross in the middle of the room, forming the perfect right angle and starting point for your tiles.
2. Plan out the tiles
Before you jump in and start sticking the tiles down, you need to plan the formation. This helps you identify if you need to cut some tiles down to size or need to adjust your starting point.
Place a tile so the corner sits flush against the centre point of the room. Lay out a row from that point, placing tile spaces between each tile.
If the last tile is less than half a width wide, adjust the starting point by half a tile so you’re not left with an awkward small sliver of tile. Small tile ends may not adhere properly and could be prone to letting water through.
Repeat this across all rows until you’ve planned out all your tiles and cut the necessary ones to size.
3. Apply the adhesive
Use a gauging trowel to scoop tile adhesive from the tub to the floor. Use a notched trowel to spread the adhesive across an area of roughly one square meter. Use the smooth side of the notched trowel to spread it and then run the serrated edge back through to form ridges.
These ridges provide even depth for the tile to stick to, ensuring they’re level.
4. Lay the tile
Place the first tile on the adhesive and firmly press down. Use a twisting motion to get the adhesive nice and stuck to the tile.
Use a tile spacer and press it firmly so it sits below the surface of the tile and will be hidden when you grout.
Keep repeating this process, using a spirit level every now and then to check that the tile are straight and level. If you find that they’re not, use a rubber mallet to gently tap the end to level it out.
If you notice any adhesive on the face of the tiles, wipe it off as you go along. You’ll find dry adhesive very hard to remove otherwise.
5. Cut the edge tiles
It’s unlikely that your tiles perfectly fit your floor space, so you’ll have to cut the edge tiles to size. If you’ve positioned your tiles correctly, the gap you’re left with should be at least half a tile wide.
To get the right sized tile, place a tile on top of one you’ve already laid. This will be the tile you’ll cut to size. Then place another tile on top of that so you have three stacked in total. Place some tile spacers next to the wall to account for space needed for sealing and grouting. Slide the top tile towards the wall, once you’re happy with the position, mark the middle tile to indicate where you need to cut.
Floor tiles are much tougher than wall tiles, so you might find it difficult to cut them. We recommend using a power tool like an electric tile cutter to cut along the line you marked.
If you have any rough edges, smooth them with a tile file.
Position it in the gap to ensure it fits, and make any adjustments where necessary. Tile nippers and a tile file should be enough to resize for this last section.
6. Let the adhesive dry
When you’ve laid all the tiles, wait at least 48 hours for the adhesive to dry before you walk on them.
How to grout kitchen tile
Grout protects the space beneath your tiles from water seeping in and causing damage. It’s the essential last step to tiling your kitchen and adds a nice finish. Grouts come in many different colours now, not just black and white, so you can have a colourful finish if you want.
1. Prep your tiles
Your tiles need to be dry and clean before you start grouting. Remove dust and grease and make sure the tile spaces aren’t sticking up.
2. Apply the grout
Use a gauging trowel to take the grout from the tub. Use a grout float to work the grout into the space between tiles, making sure it’s level with the tiles and covers the spacers.
If you’re grouting floor tiles, we recommend you start against the wall that’s furthest from the door and work your way towards the door. That way you shouldn’t be treading on any wet grout and ruining your neat finish.
3. Smooth the grout
As soon as you’ve grouted a few rows, use a grout finisher to smooth the grout.
Clean up any remnants of grout with a damp sponge as you go along for an easy clean up.
Repeat this process across all your tiles.
4. Let the grout dry
Check the manufacturer’s instruction for how long the grout takes to dry.
When it’s completely set, give it another wipe over to remove the remaining bits of grout. If they won’t come off with a damp cloth, use a multi-purpose cleaner but make sure the grout is definitely dry first.
5. Seal the edges
The edges of tiles need sealing to prevent water getting in and allows movement and flexibility.
Put a strip of masking tape either side of the section you’re sealing. This will help keep a tidy straight line and prevent the sealant from making a mess.
Keep steady pressure on the sealant gun, applying a consistent bead from one end to the other. If you miss a spot or apply too much, it can be easily shaped or wiped away.
Wait for the sealant to dry and then you can finish cleaning up.
